How To Replace the PTO Clutch On an Exmark Lazer Z Mower

The Exmark Lazer Z mower is a popular zero-turn mower that gives riders maximum comfort and control over their mowing experience. However, it can run into problems that may affect its efficiency, such as issues with the clutch that can make it hard or impossible to shift.
As a result, it is important to understand how to replace the PTO clutch on an Exmark Lazer Z mower. This process is something that many mower owners may be able to handle without difficulty. However, it is important to know exactly what to expect and to avoid any complications that may occur.
Tools You’ll Need
Before learning how to replace the PTO clutch on an Exmark Lazer Z mower, it is important to know exactly what tools are required for this job. It isn’t necessarily a complex process, but you’ll need a handful of items that make it easier. These include:
- Torque and impact wrenches
- Thread-locking fluid
- Cleaning cloth
- 320- to 400-grit sandpaper
- Recoil rope
- Liquid soap
- WD-40 oil
- A replacement PTO clutch
You can find most of these tools at an auto- or mower-repair shop. The new PTO clutch may be ordered directly from the manufacturer online or at various dealerships. Some items you might even already have at home, such as a cleaning cloth and sandpaper for various projects.
How To Replace the PTO Clutch On an Exmark Lazer Z Mower
The following steps will help you carefully remove the clutch from your mower to ensure that it is easy to replace. We’ll also include replacement steps so that you can get this part back on with minimal challenge. Thankfully, it shouldn’t be anything that you can’t handle!
Step One: Prep the Mower
Start by parking the Lazer Z on flat ground and turning off the ignition key. You can now set the parking break and disconnect the battery. Disconnecting the battery ensures that it doesn’t start unexpectedly and causes you a serious risk of injury.
Now, you can jack up the mower to get easier access to the clutch. The jack doesn’t matter much as long as it can lift the mower without causing strain. It is best to have someone with you during this process who can make sure the jack stays in place and avoids falling.
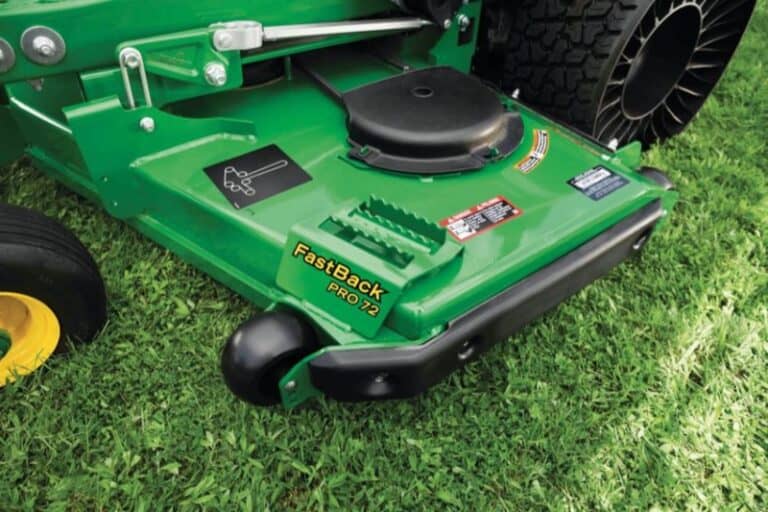
Step Two: Find the Clutch
Get beneath the mower and look for the clutch, which is typically near the shifting lever. If you’re not sure, consult a photo from your manual or online to see what it looks like. Take a photo of the clutch so that you can use it to connect your replacement clutch on the mower.
Carefully track the PTO clutch’s electrical connection near the chassis and detach the wire. Thread this wire towards the mower’s bottom and leave it there. This step also helps to ensure that the mower doesn’t start and makes it easier to replace the clutch later.
Step Three: Reduce the Deck Belt Tension
Find the deck belt on the clutch and carefully reduce its tension using the appropriate wrench. Once its tension has decreased, you can carefully release it from the clutch pulley. Place it to the side for now before moving to any other steps in this process.
If necessary, you can use an impact gun to carefully unbolt the screws on this part. This option is often a good one for people who don’t feel comfortable working with wrenches. However, you don’t absolutely need this part, so if you already have the other wrenches, you’re okay to go.
Step Four: Bring the Piston Up to a TDC Contraction Stroke
This next step is a preventive measure that can stop you from experiencing complications. Bring the mower’s piston up into a contraction stroke before you start undoing any more screw bolts holding the clutch to the engine. There are a few reasons why you do this when removing the clutch.
First, it helps to prevent the rope from lashing around the valve. Secondly, it helps keep the piston out of the way while you work. Once you’ve done this step, you can remove the three screw bolts and detach the spark plug to push the piston back into place a little.
Step Five: Removing Extra Bolts
Start by carefully threading the recoil rope into the cylinder to keep the piston from flying out of the engine. Next, you can move on to removing the bolts holding the clutch to the engine by spinning them counter-clockwise. As you do this, the piston will come up but will be stopped by the recoil rope.
This stops the crank from rotating and causing more trouble with your engine. Now, you can carefully pull the clutch off of the engine shaft and place it down next to you. While you can test the power output with a multimeter at this point, it isn’t necessary if you plan on replacing and not repairing the clutch.
Step Six: Preparing For the New Clutch
Before putting your new clutch on your mower, you need to carefully slide the piston down to the regular height. Tighten the rope a little after elevating the piston past the compression stroke. Now, check your photo to see how the clutch was attached to the engine.
Open the clutch and check to make sure that it is adaptable with your wrenches and cleaning cloths. Clean the areas where you’ll attach the clutch, using the cloths and soap. Keep the sandpaper handy because you might need it if the clutch doesn’t want to attach easily to the engine.
Step Seven: Put the Clutch Back in Position
Start by opening the new clutch box, if you haven’t done so already, and removing the part. Carefully level the clutch bolt holes with the engine shaft and hold it in position carefully. You may need your repair partner to hold it in place while you tighten the bolts to hold it in place.
You typically want to put in one bolt first and then put in the rest before carefully tightening them. Tighten them evenly as you do to ensure the part doesn’t strain. Even tightening includes tightening each screw the same number of turns before ensuring that they are fully tight.
Step Eight: Lubricate the Area
Take the WD-40 oil and lubricate the clutch link. Adding this lubricant ensures that it will run properly and without strain. Pay close attention to where you lubricate to ensure that it doesn’t run too heavily. A few sprays should be enough to ensure that you get a great result here.
At this point, you may want to lightly sand the clutch before finishing up. There are a few reasons to take this step, including giving it more friction to improve its grip. You don’t have to sand the clutch at this point. Once you’ve run the mower several times over a year, sanding might help if the clutch is worn.
Step Nine: Finishing Up
Before finishing, make sure that the clutch frame doesn’t rotate along the engine stock by trying to see if it moves. If it does, tighten the screws more. Once it is steady, reconnect the deck belt to the clutch pulley and make sure it moves properly. Reconnect the clutch wire and get out from beneath the mower.
Reconnect the battery wire and carefully lower the mower back down to the ground. Take the jack away and put the key back into the mower. At this point, your clutch should be ready to test and your mower should run smoothly without any problems once you turn it on.
Try turning on your mower and running it, shifting as you do. Does the mower easily move at varying speeds and powers and can you turn it quickly on the zero-turn radius? If so, the clutch works just fine. If not, call a mechanic and get help to see what is wrong.
You can also read: