The Best Way To Fix a Scotts Broadcast Spreader

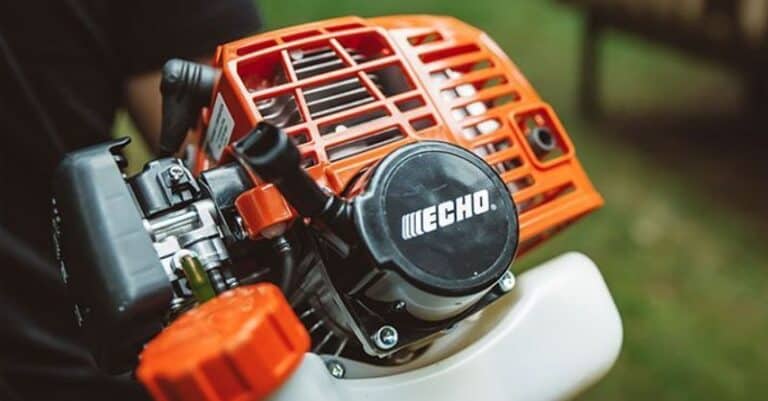
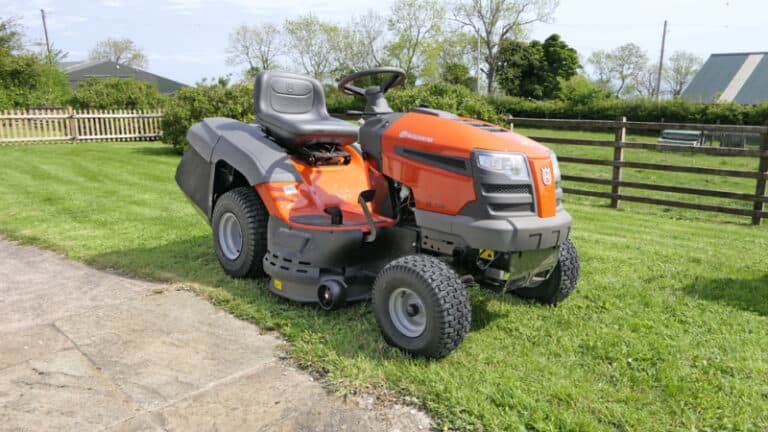
Scotts broadcast spreaders are an excellent tool for making fertilizing much easier. Unlike drop spreaders, they provide a wide range of coverage to get the best results and work less. When it stops working, it can be frustrating, but the good news is you do not have to go out and buy a new one because it is easy to fix Scotts broadcast spreader.
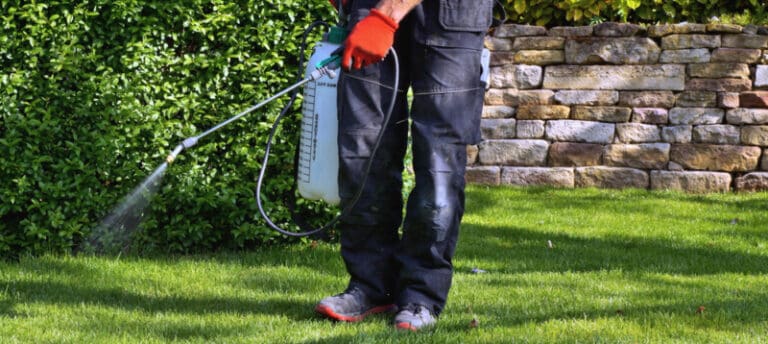
You can fix a Scotts broadcast spreader by ensuring the agitator is tightened down and has no visible damage or rust. If it is beyond repair, you will need to replace it. If the spinner is locked up, verify that the wheel’s axle is still turning and that the cotter pin is in place. Keep your spreader calibrated and use the correct settings for the product you apply.
We will look at the steps you can take to fix the various parts of your Scotts broadcast spreader that could be damaged, including the agitator and spinner. I will also explain how to calibrate your broadcast spreader and what settings are appropriate.
An Uneven Distribution Points Toward the Agitator
If you have been noticing an uneven fertilizer distribution on your lawn, your agitator needs some attention. Problems with this part are the most common cause behind irregular lines left in the grass.
The first thing you will need to do is empty the spreader of all fertilizer. You will then need to hose it out to inspect the parts visually. It may take up to 48 hours to dry completely.
Once the spreader is clean, manually inspect the agitator. Specifically, look for signs of rust and flaky metal. If you live in a snowy area in the winter, using your spreader for deicing your property can damage the agitator as the salt will eventually cause rust.
Also, look for signs of damage, which can include bent pieces. You can try manipulating these back into their correct form, but you will need to replace the agitator for anything that is too horribly damaged.
If everything looks okay, you’ll need a screwdriver for this next step. Check for any looseness in the agitator, including screws. These can be jostled loose during the agitation process and the general use of the spreader. Tighten any loose screws with the screwdriver and recheck the agitator.
Everything should feel more solidly in place now. The next time you use your broadcast spreader, your lines should be evenly distributed.
What To Do When Your Broadcast Spreader Is Locked Up
If you accidentally lock up your broadcast spreader, there are just a few easy steps to take to fix it. You must flip the spreader over to access the shaft support plate. Once you do this, loosen the nuts on the plate, so they turn easily.
You’ll need to move the drive wheel to get an initial idea of how the gears sound when it moves. Then begin making slight adjustments to the shaft support plate, rechecking the drive wheel and sound of the gears after each alteration. Continue until the noise is reduced, and tighten the plate into this position.
Another thing to check is whether the cotter pin that attaches the axle is still in place. This pin locks the axle and wheel into position with each other, causing them to turn in tandem. If the key is broken or missing, the axle will not rotate with the wheels, resulting in the spinner not distributing fertilizer. Cotter pins are an affordable and easy replacement.
The gearbox may also be a problem. Over time, they wear out or can even be thoroughly clogged with fertilizer. If unaware, you must regularly apply lubricant to ensure the gears work correctly and smoothly. If you find that yours is damaged, it is an easy replacement.
Calibrate Your Spreader for the Most Effective Use
Sometimes making your broadcast spreader work effectively only requires calibration. To do this correctly, you will need to know how wide an area its distribution is. To save time, check the instructions and see if this information is there.
If not, you will have to do a test run. Do not do this on concrete because you will have a mess you must clean up. Run your spreader over a small patch of your lawn and measure the width of the fertilizer.
Choose a specific test area and know what the size is. Then weigh out how much fertilizer you need for that area. When you are done fertilizing, check what is left in the bin.
If you have product left over, increase the setting on your spreader. If you ran out of product early, decrease the setting. You should have had enough product to cover the test area because you measured specifically for it.
As your spreader ages, it will lose its ability to maintain its settings. What used to be a 5 may now be a 6 or 7. Because of this, calibration is essential to keeping your spreader working.
Verify Your Setting Is Correct
There are different settings on your Scotts broadcast spreader for different types of products. If you accidentally set it to the wrong one, it could impact your spreader’s functions or even completely prevent it from depositing the product.
Higher settings are indicated for the use of larger-sized fertilizers and products, such as granules and grass seeds. The lower settings are for finer products. The openings for the product to be distributed are varied based on these settings. Larger-grained products will not fit through the same size hole as finer-grained products.
So, if you have loaded up your broadcast spreader with grass seed and have it set on a 3, there is nothing wrong with the spreader. You need to change the setting to the appropriate number, which will work perfectly.
Most products indicate on the packaging which setting is ideal for their use. Additionally, your broadcast spreader’s manual has generic instructions on types of fertilizers. Ensuring you verify this information before you start will save you from struggling to find out why your spreader is not working.